The Best Way to Move Photos From Android to a New iPhone Without Losing Anything
Switching from Android to iPhone can feel weirdly stressful, especially when your whole photo history is on the line. You have years of pictures and videos, and every guide you find either gets too technical fast or skips the part where things go wrong. Cables, apps, cloud backups. It can all feel confusing and risky. Here’s the calm, low-drama way I recommend: do one clean transfer with Apple’s Move to iOS app, then put Google Photos on your new iPhone right away so everything stays backed up in the same familiar place going forward.
⚡ In a Hurry? Key Takeaways
- Use Move to iOS during iPhone setup to copy your photos and videos in one go.
- Then install Google Photos on the iPhone and turn on Backup so old and new pictures live safely in one place.
- This two-step setup protects your memories now and makes future phone switches much easier.
The simple plan (that doesn’t make you gamble with your memories)
Think of this as a two-step safety net.
Step 1 gets your Android photos onto the iPhone. Step 2 makes sure you never have to worry about this again, even if you switch phones later.
Step 1: Do the big move once with “Move to iOS”
Apple’s official method for switching is the Move to iOS app. It’s not glamorous, but it’s usually the least messy because it’s designed for this exact moment.
Before you start (two minutes of prep that saves headaches)
On your Android:
- Connect to Wi‑Fi.
- Plug in power if you can. Transfers can take a while.
- Install Move to iOS from the Google Play Store.
On your new iPhone:
- Start the setup like normal until you see Apps & Data.
- Tap Move Data from Android.
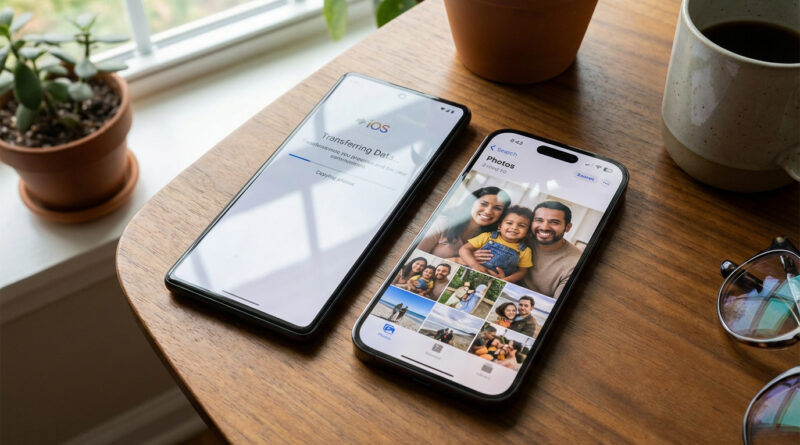
Transfer your photos and videos
Now do this:
- On the iPhone, you’ll get a code.
- Open Move to iOS on Android and enter that code.
- Select what to transfer. Make sure Photos (and videos, if listed) is selected.
- Let it finish, even if it looks stuck. Big photo libraries can take a long time.
Two common “gotchas” (and how to avoid them)
Gotcha #1: The transfer fails halfway. This is usually Wi‑Fi or battery. Keep both phones close, on power, and don’t jump between apps. If it fails, restart both phones and try again.
Gotcha #2: You already set up the iPhone. Move to iOS only works during setup. If you already finished, you’d have to erase the iPhone and set it up again to use it. If that feels like too much, skip to Step 2. Your photos will still be safe in Google Photos, and you can bring them over without wiping the phone.
Step 2: Install Google Photos on the iPhone (your long-term safety net)
This is the part most guides forget. After you move things over, you still need a “home base” for photos so you don’t repeat this panic next time.
If you already used Google Photos on Android, keep using it. Just put it on the iPhone.
Set it up the right way
- On iPhone, install Google Photos from the App Store.
- Sign in with the same Google account you used on Android.
- When prompted, allow access to Photos.
- In Google Photos, turn on Backup.
Once backup is on, your iPhone photos get saved to the same Google Photos library as your older Android pictures. One timeline. One search box. Less stress.
A quick note about duplicates
Sometimes you’ll end up with some photos that exist both in the iPhone’s Photos app and in Google Photos. That’s normal. The key is that they’re safe. If you want to clean up later, do it slowly and only after you’ve confirmed everything is backed up.
How to confirm you didn’t lose anything
Do a fast “sanity check” before you relax.
- On iPhone Photos: Open the Photos app, go to Recents, scroll a bit, and spot-check older dates.
- On Google Photos: Search for a specific month/year or a person/pet you know is in your library. Make sure older photos show up.
- Wait for backup to finish: In Google Photos, check the backup status. Don’t delete anything from the old phone until backup is complete.
Small quality-of-life tip after switching
Once you get your photos squared away, the next “why is my phone yelling at me” moment is usually notifications. If your new iPhone starts buzzing nonstop, this guide will save your sanity: How to Stop iPhone Notifications From Driving You Crazy (Without Missing the Important Stuff).
At a Glance: Comparison
| Feature/Aspect | Details | Verdict |
|---|---|---|
| Best “first transfer” method | Move to iOS during iPhone setup. Copies photos/videos directly from Android to iPhone. | Best for the initial move |
| Best ongoing backup | Google Photos on iPhone. Keeps old Android photos and new iPhone photos in one library. | Best for long-term peace of mind |
| Lowest risk of losing memories | Do both steps, then verify backup before deleting anything from the old phone. | Safest overall |
Conclusion
You don’t have to treat your photo library like it’s fragile cargo. Use Move to iOS once to get everything onto the new iPhone, then install Google Photos and turn on backup so your memories stay protected in the same place you already know. It’s a calm, step-by-step path that keeps your photos safe today and avoids future headaches if you switch phones again, which is a huge relief during an already stressful upgrade.